
Please Note: As of NEMS 1.2 NSClient++ is optional for monitoring of Windows computers (thanks to the addition of WMIC). If you’d like to use it, please follow the directions below.
- Grab the latest Windows client at https://www.nsclient.org/download/
- Install the client with the following settings:
- Select to install the “Generic mode” NSClient++.
- Choose “Complete installation” and if asked, choose to save config to ini file.
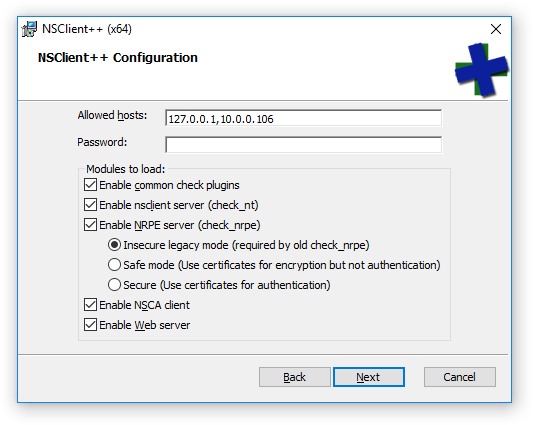
- Under “Allowed Hosts” it should read 127.0.0.1,NEMSIP (where NEMSIP is the IP address of your NEMS server)
- Clear the Password field for ease of deployment. NEMS sample scripts are setup to use NRPE without a password because I’m making the assumption that this is being deployed in a trusted LAN. If you do not blank the password here, you will have to edit all the scripts before NEMS will be able to communicate with this computer.
- Enable all modules and change the NRPE mode to Legacy. NEMS uses Nagios 3.5.1 at present, and I suppose that’s technically “Legacy”. 🙂
- Screen should look a little something like this:
- Add your Windows host to NEMS. If you are using NEMS 1.1+ you can use the template “ourwinserver” in nconf. Just change the hostname and the IP address.
Please note: If you have a software firewall running on your Windows machine, setup an exception for your NEMS server IP to gain access through ports 5666 and 12489.